This video will provide you with a visual walkthrough of the process, making it easier for you to understand How to create a managed account for your child. If you prefer following along with visual instructions, this video will be a valuable resource in ensuring a smooth entry process.
To enter your child for an event, you can create a managed account on EntryNinja. This allows you to act on behalf of your child, receive all their correspondence, and take responsibility for their entries. Here's how you can create a managed account:
Option 1: Create a Managed Account
1. Visit the link: [https://enter.entryninja.com/profile/create-managed-account](https://enter.entryninja.com/profile/create-managed-account)
2. Log in to your EntryNinja account using your credentials.
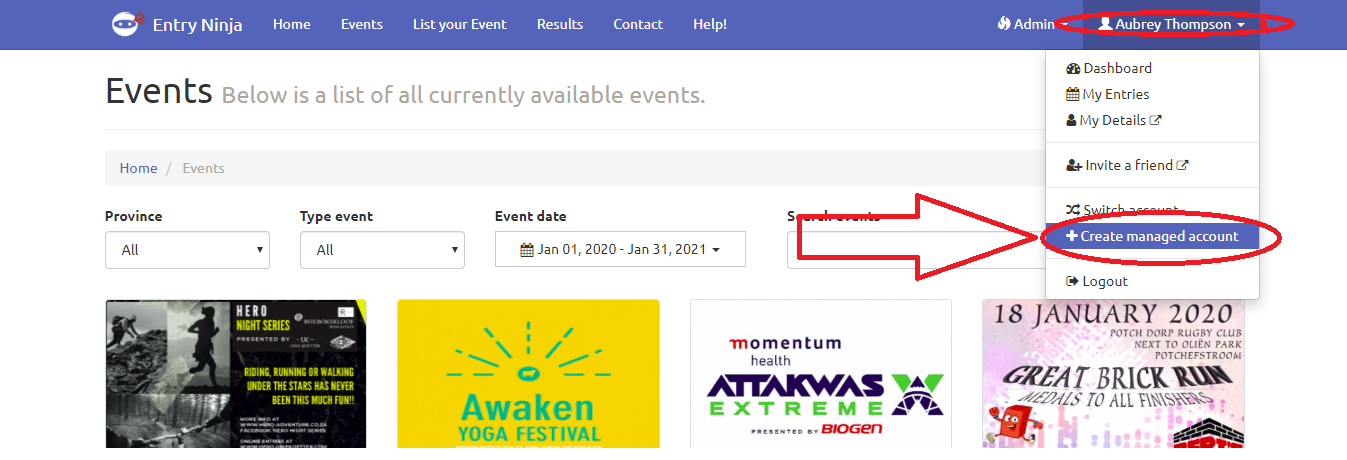
3. Click on your name (account) located in the top right corner to access the drop-down menu.
4. Select "Create a Managed Account" from the drop-down menu.
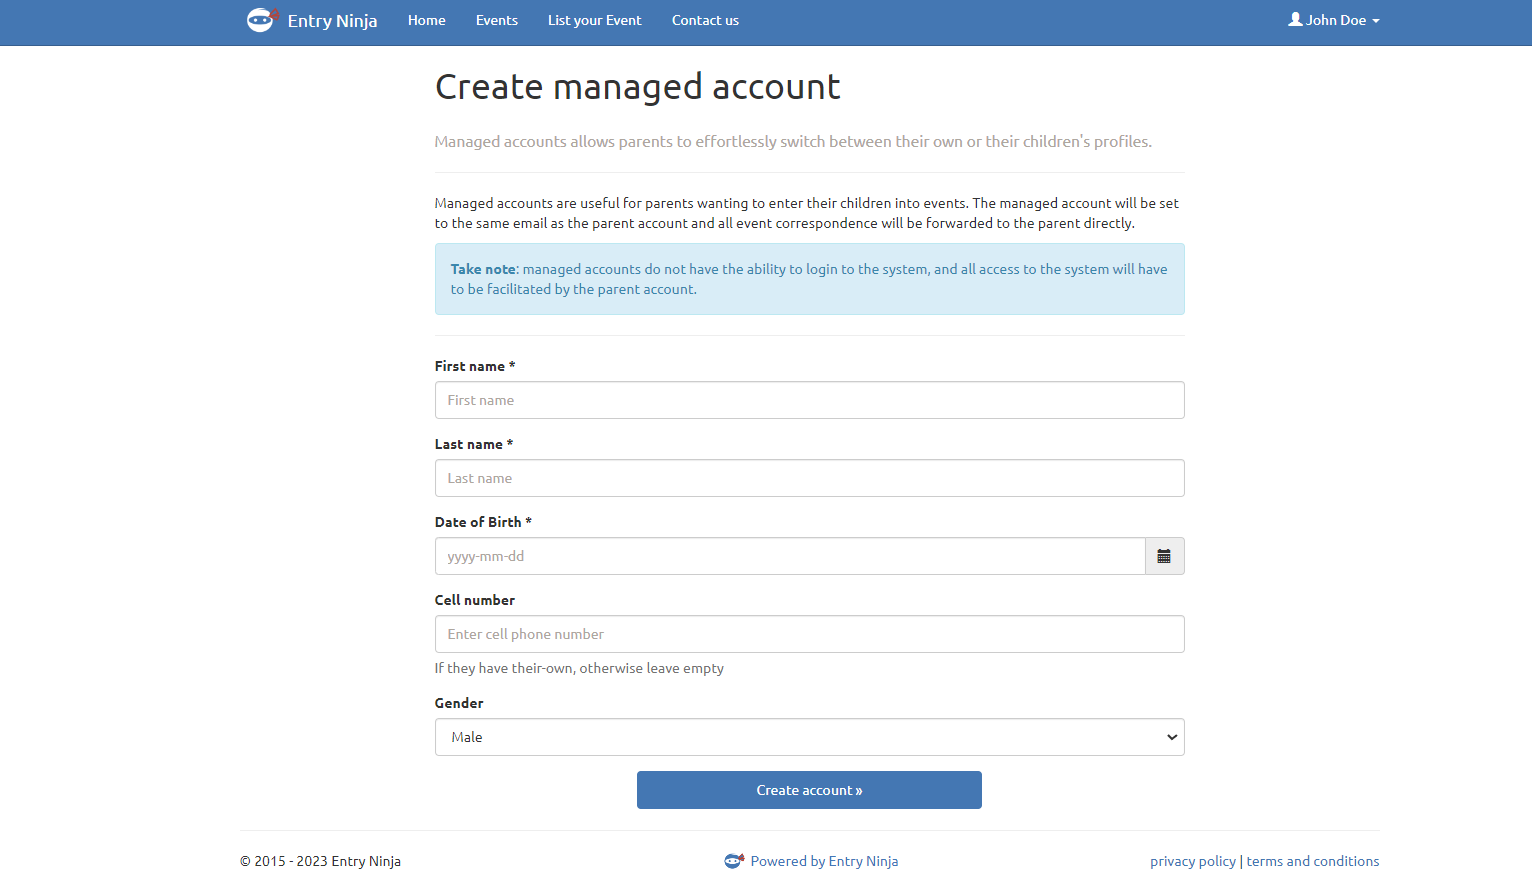
5. Follow the on-screen instructions to create the managed account for your child.
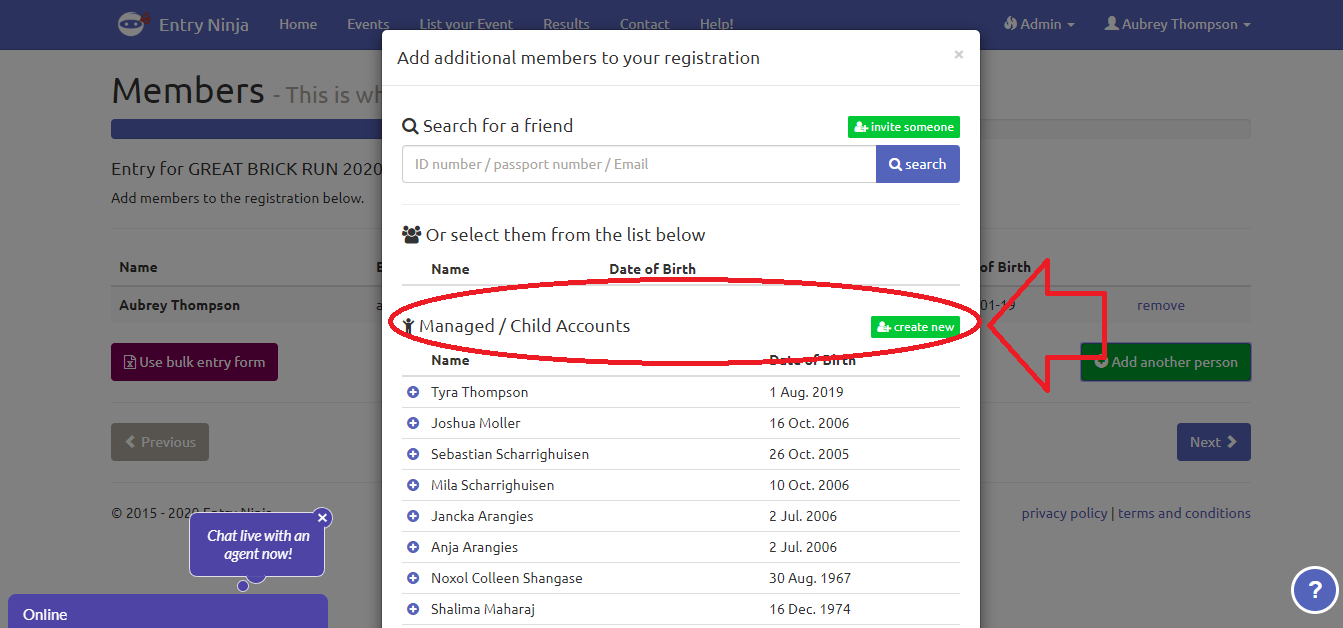
Option 2: Add Managed Account During the Entry Process
1. During the entry process for an event, you will have the option to add a managed account.
2. Click on the relevant button or link to add a managed account.
3. Follow the prompts to create a managed account for your child.
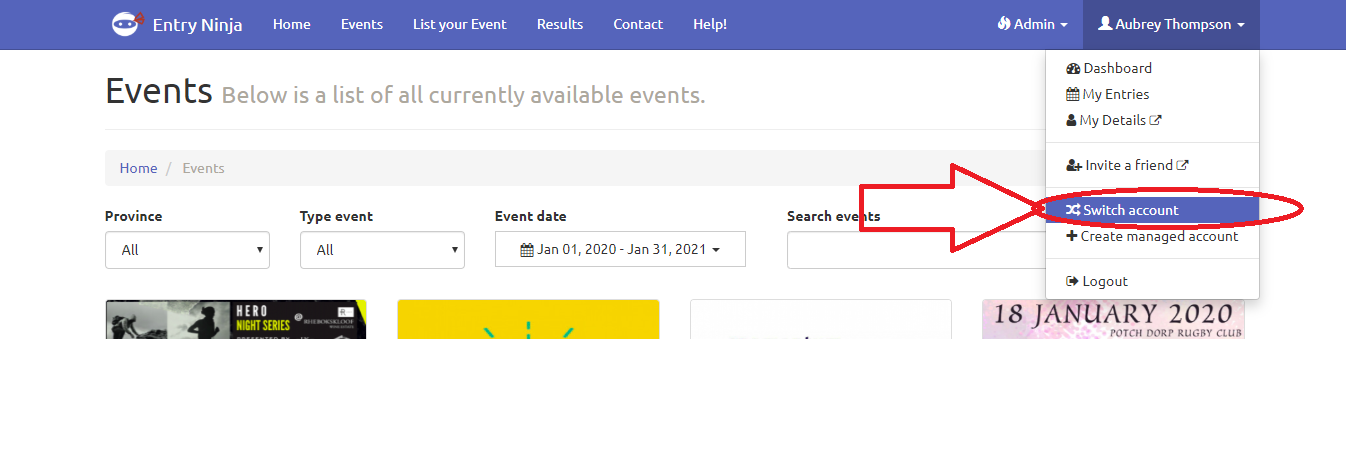
Once the managed account is created, you can easily switch between your own account and the managed account. Additionally, you can effortlessly add managed accounts to your own entries during the entry process.
Using the managed account option is particularly beneficial for underage children and family members who do not have access to email, as you will handle all communications and entry responsibilities on their behalf.
If you encounter any difficulties or need further assistance, feel free to contact our support team at support@entryninja.com. We are here to ensure a smooth and enjoyable event registration experience for you and your child.
Paragraph